

UX Design Thinking Process: From Research to Prototype
The UX design thinking process is a human-centered framework that guides designers from user research to prototyping by focusing on empathy, problem definition, ideation, and iterative testing.
6 minutes
Jan 30, 2025

The UX design thinking process is a structured approach designers use to move from understanding user problems to building meaningful solutions. It combines research, analysis, ideation, and prototyping to ensure products are both usable and relevant. Rather than jumping straight to screens, the design thinking process starts with empathy, learning about user needs, behaviors, and context. By following a step-by-step UX design thinking process, teams reduce assumptions, align on problems, and create prototypes grounded in real user insights. Create UX that people love & drive business success. Start with following a solid UX design thinking process. From research to wireframes to prototyping and testing, this guide breaks down how you can put users at the heart of every design decision.
What Is the UX Design Thinking Process?
The UX design thinking process is a step-by-step method that helps designers understand user needs, define problems, generate ideas, and build prototypes. It ensures design decisions are based on research rather than assumptions.
In today’s fast-paced digital world, creating seamless and intuitive user experiences is more than just a competitive edge, it's a necessity. According to Forrester Research, companies that prioritise UX design can see conversion rates increase by up to 400%. And yet, the UX design process is more than just slapping together wireframes and testing layouts. It’s a meticulous journey from understanding user needs to delivering an intuitive and effective prototype.
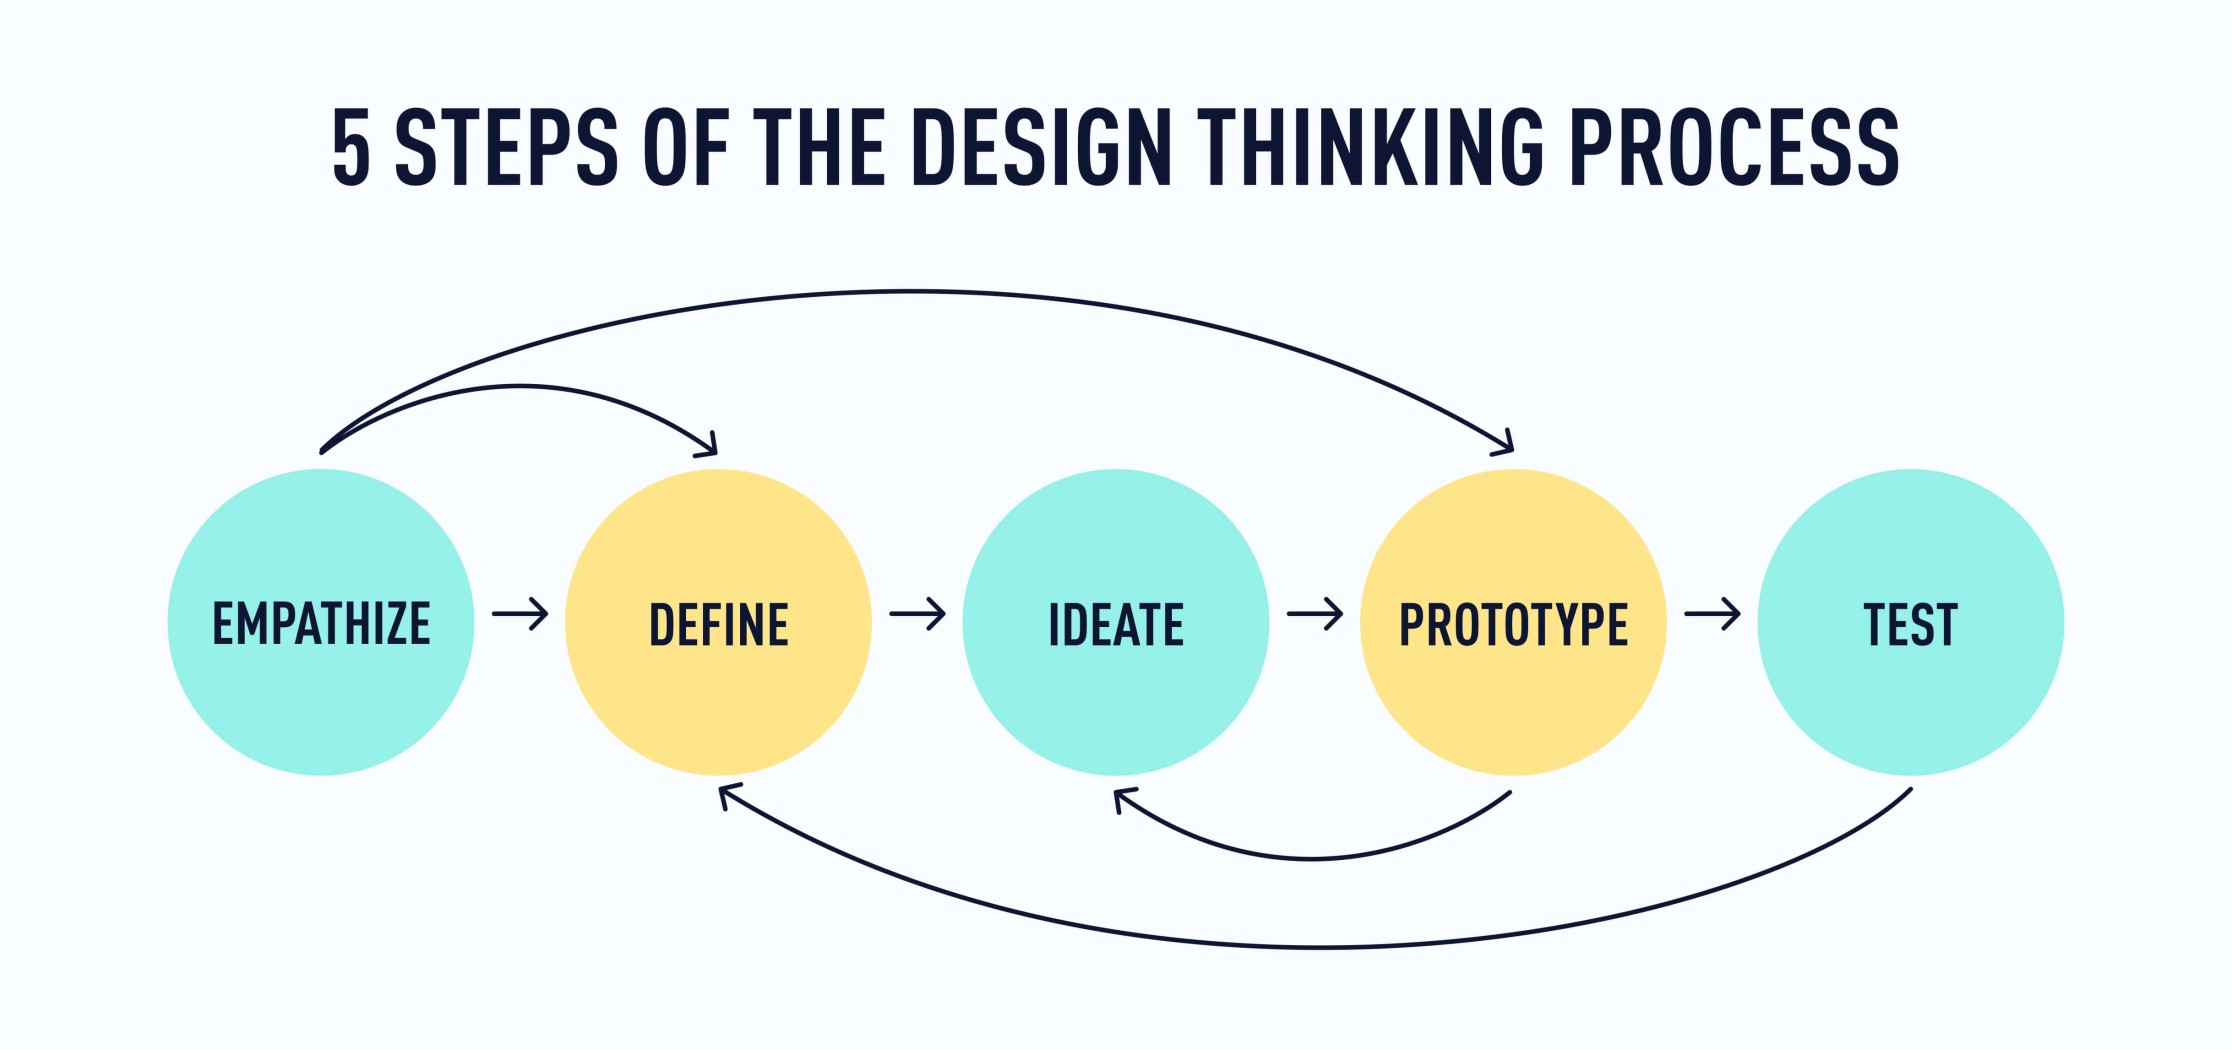
Steps in the UX Design Thinking Process
Step | Purpose |
|---|---|
Research | Understand user needs and context |
Define | Identify and frame the core problem |
Ideate | Generate possible solutions |
Prototype | Turn ideas into tangible concepts |
Test | Validate solutions with users |
Below I'll walk you through the key steps of the UX design process, supported by data, to show how each stage builds upon the other for a smooth and user-centered product design experience.

Step 1: User Research | To Know Your Audience
The first and most crucial step in any UX process is understanding your users. Conducting comprehensive research helps you uncover the problems that need solving, the goals of the users, and their behaviours. Without this, the design will likely miss the mark.
How to Conduct User Research:
Surveys and Questionnaires: Simple, scalable methods to gather quantitative data on user preferences, behaviours, and pain points.
Usability Interviews: One-on-one interviews dive deep into user motivations, giving qualitative insights that numbers can’t always convey.
Analytics Data: Tools like Google Analytics can provide real-time behavioural data on how users interact with your current product or similar platforms.
The Data Speaks:
Research shows that companies who conduct thorough user research are more likely to deliver products that meet market demands. A report by McKinsey revealed that design-led companies outperformed industry benchmarks by 2:1 in terms of revenue growth. Furthermore, a study by the Norman Nielsen Group found that skipping the research phase can increase the risk of project failure by 80%.
Step 2: Define | To Craft Personas & Problem Statements
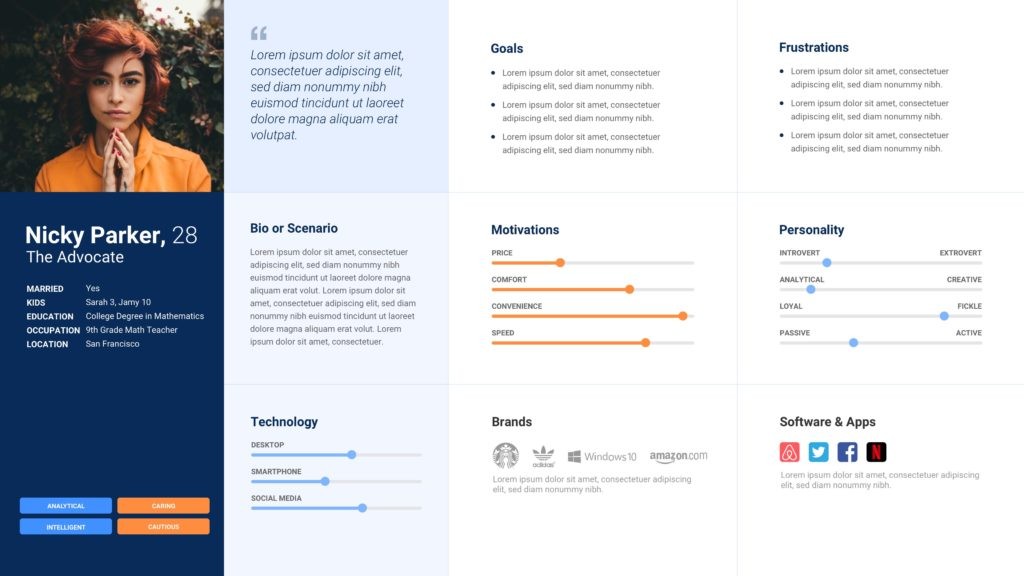
After collecting insights, it’s time to synthesise the data. This stage involves creating user personas, fictional representations of your target users that capture key characteristics like their goals, frustrations, and motivations. Alongside personas, develop problem statements to define the core issues your design aims to address.
Example Persona Snapshot:
Meet Super Sarah, a 28-year-old marketing professional who frequently uses mobile apps for work. Her biggest frustration is wasting time on apps with poor navigation, which causes delays in her already tight schedule.
Why It Matters:
Creating personas allows you to humanise the data and keeps user needs at the forefront of your design process. According to a report by UX Planet, user personas can improve a product’s usability by up to 60%. Clear problem statements guide your design to solve specific user pain points effectively.
Step 3: Ideate | To Brainstorm Solutions
Now that the problem is well-defined, it’s time to brainstorm solutions. The ideation phase involves generating a wide range of ideas to solve user pain points. From quick sketches to group brainstorming sessions, the goal is to think creatively without limits.
Common Ideation Techniques:
Mind Mapping: Helps visualise connections between ideas and solutions.
Crazy 8s: A method where designers sketch 8 different ideas in 8 minutes to stimulate creativity.
Sketching: Quick sketches or low-fidelity wireframes that help bring abstract ideas to life.
Data Backed Creativity:
Studies have shown that collaborative ideation sessions can increase the range of ideas generated by 20%, leading to more innovative solutions. A global survey by Adobe found that companies emphasising creativity were 1.5 times more likely to report revenue growth than their peers.
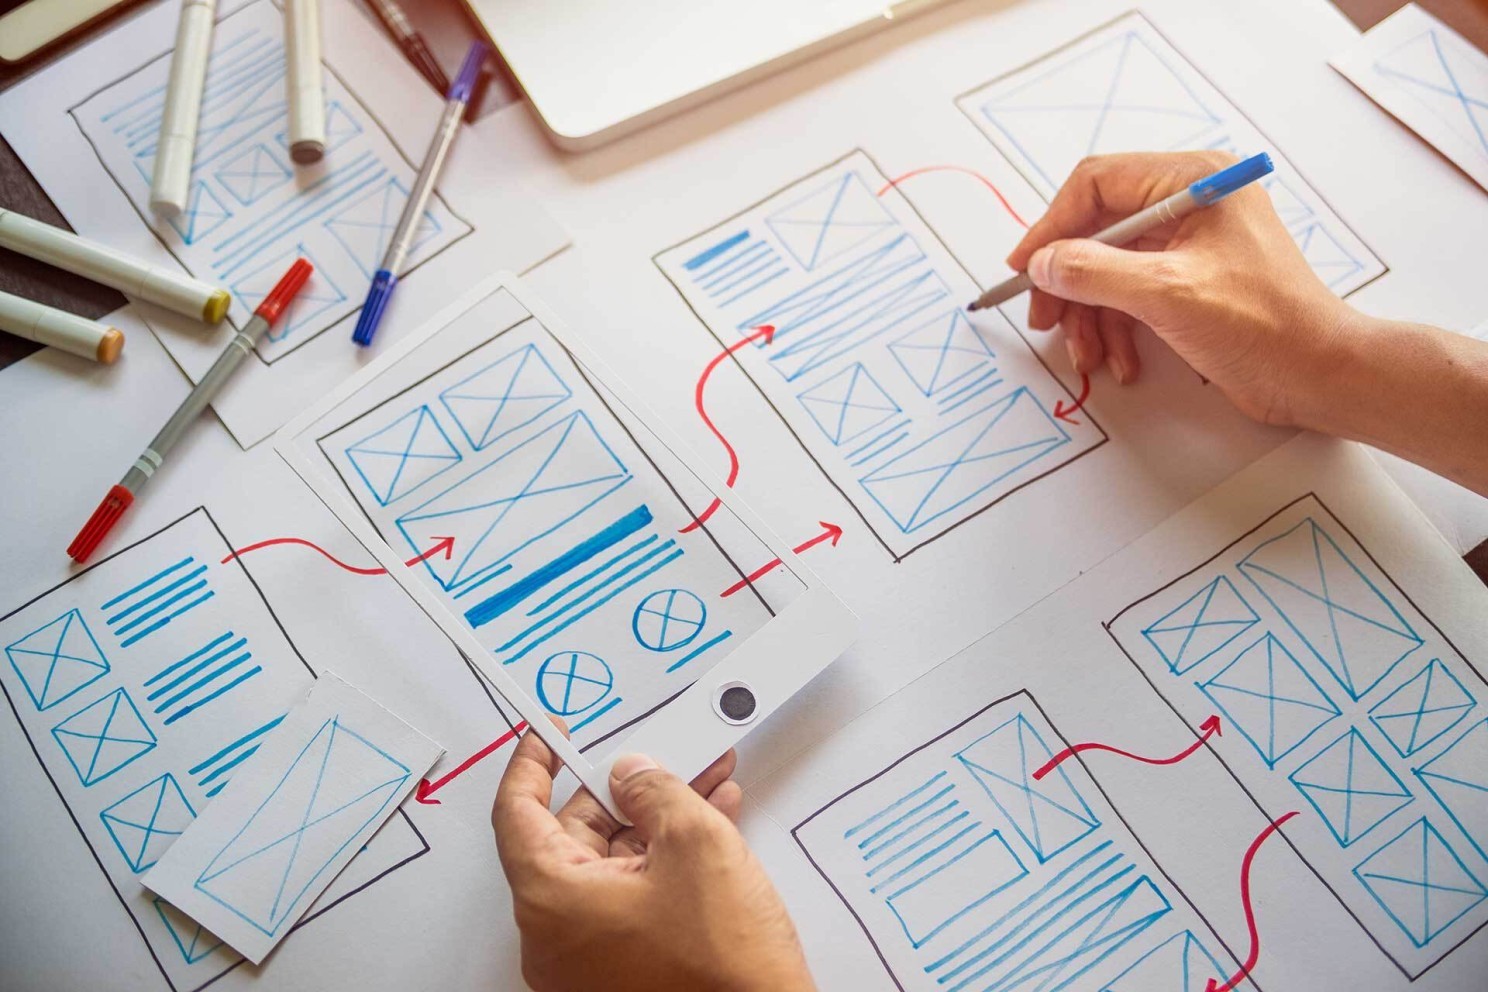
Step 4: Wireframing | To Structure the Interface
Once ideas have been refined, it's time to translate them into wireframes, basic visual guides that represent the skeletal framework of a website or app. Wireframes focus on functionality, layout, and structure without delving into the finer details of design, such as colors or fonts.
Tools for Wireframing:
Figma: A collaborative design tool that allows for real-time feedback on wireframes.
Sketch: A vector-based design tool that makes wireframing quick and efficient.
Adobe XD: Great for wireframing and creating simple prototypes in the same platform.
The Importance of Wireframing:
Wireframes allow stakeholders and team members to visualize the user flow before investing time and resources into detailed designs. A report by Adobe found that iterating on wireframes early can reduce design costs by 50% since it highlights usability issues before high-fidelity prototypes are developed.
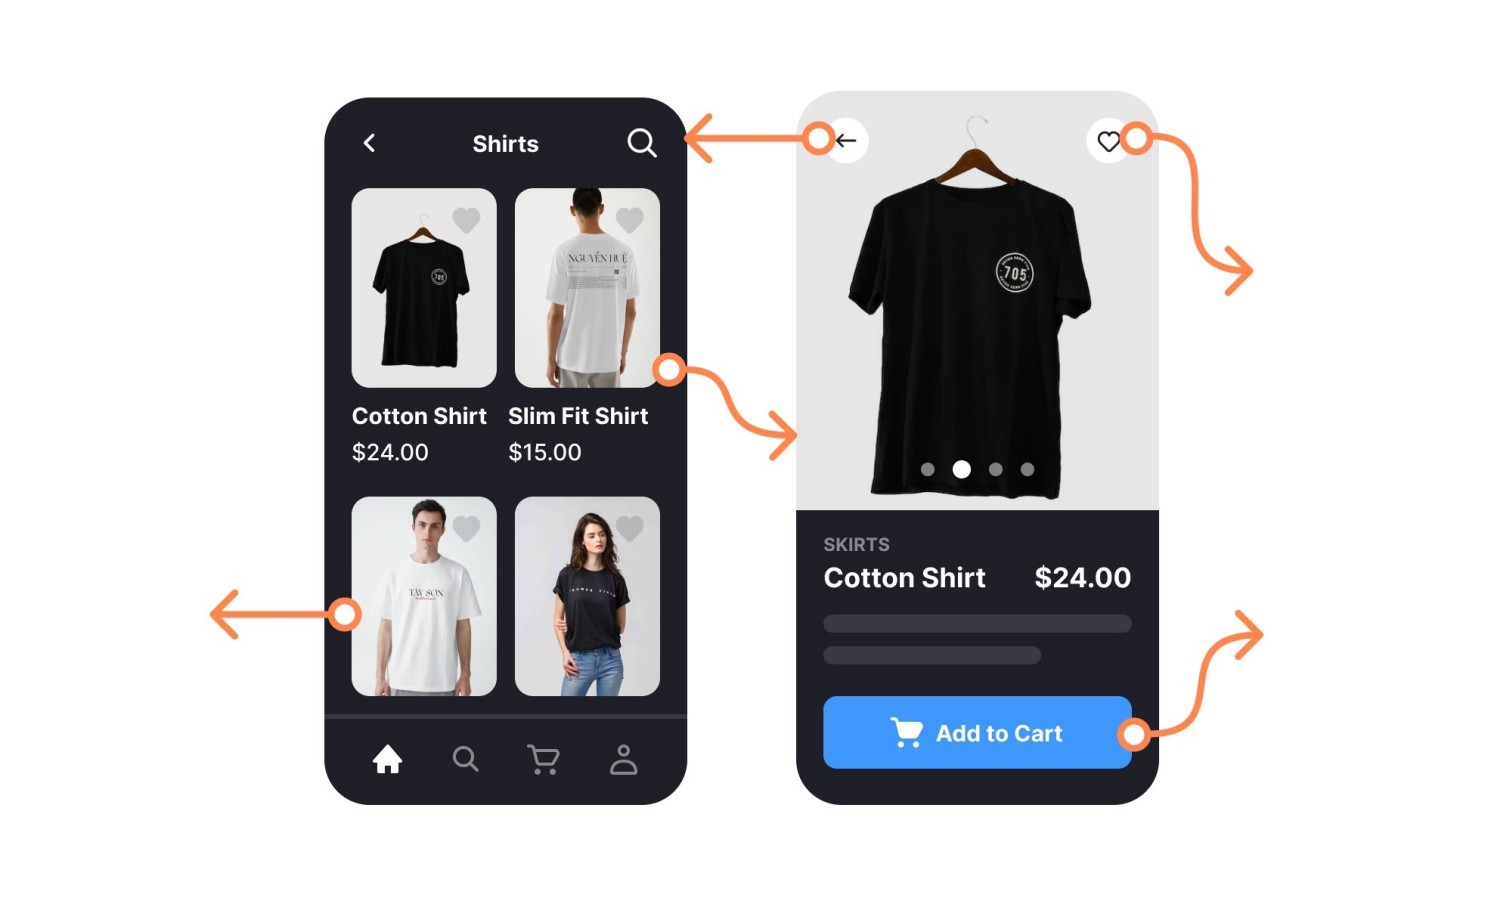
Step 5: Prototyping | To Bring Ideas to Reality
After iterating and finalising wireframes, the next step is prototyping. A prototype is a functional, interactive model of your product, offering a tangible representation of how it will look and work.
Types of Prototypes:
Low-Fidelity Prototypes: Rough versions with basic functionality, useful for early feedback.
High-Fidelity Prototypes: More polished versions that closely resemble the final product in terms of design and functionality.
Tools for Prototyping:
InVision: A platform for creating clickable prototypes and getting feedback.
Marvel: Another prototyping tool that is beginner-friendly and easy to use.
Framer: Excellent for creating advanced, high-fidelity prototypes with complex interactions.
Data Insights:
Research shows that building prototypes early can help reduce time to market by up to 30% (UXPin). Additionally, 85% of issues related to usability can be identified and resolved during the prototyping phase, according to the Interaction Design Foundation.
Step 6: Testing | To Validate the Designs
Prototyping doesn’t end the UX journey, now it’s time to validate your designs through usability testing. This ensures that your prototype solves the users' problems effectively and provides a positive experience.
Usability Testing Methods:
Moderated Testing: Conducted in-person or via video calls where users interact with the product under supervision.
Unmoderated Testing: Remote testing where users complete tasks on their own, providing valuable insights into how the product performs in real-world scenarios.
A/B Testing: Comparing two versions of a product to determine which performs better.
Testing Statistics:
Usability testing is critical to design success, with 75% of usability issues being identified during the first round of testing (NN Group). Furthermore, studies show that conducting five usability tests can uncover 85% of the design’s problems.
Example of the UX Design Thinking Process
A UX team begins by researching user behavior through interviews and observation.
Insights are synthesized into a clear problem statement.
Designers then explore multiple ideas before creating prototypes to test assumptions early.
Why the UX Design Thinking Process Matters
The UX design thinking process helps teams create solutions that are grounded in real user needs. By following a structured approach, designers reduce rework, align stakeholders, and build products that are more intuitive and effective.
Following a step-by-step UX design process, from research to testing, ensures user needs drive every decision, leading to products users love and business success. Data shows companies investing in UX see higher conversion rates, reduced costs, and stronger user retention. Using this process, I tried to design the experience of Zoop Wallet, A Document Management App, and the results turned out to be great than I expected.
Good design is about solving user problems with empathy and iteration, not just aesthetics. Continuously test, learn, and evolve your designs based on real-world feedback to create the best digital experiences.
Explore More Reads


UX Design Thinking Process: From Research to Prototype
The UX design thinking process is a human-centered framework that guides designers from user research to prototyping by focusing on empathy, problem definition, ideation, and iterative testing.
6 minutes
Jan 30, 2025
The UX design thinking process is a structured approach designers use to move from understanding user problems to building meaningful solutions. It combines research, analysis, ideation, and prototyping to ensure products are both usable and relevant. Rather than jumping straight to screens, the design thinking process starts with empathy, learning about user needs, behaviors, and context. By following a step-by-step UX design thinking process, teams reduce assumptions, align on problems, and create prototypes grounded in real user insights. Create UX that people love & drive business success. Start with following a solid UX design thinking process. From research to wireframes to prototyping and testing, this guide breaks down how you can put users at the heart of every design decision.
What Is the UX Design Thinking Process?
The UX design thinking process is a step-by-step method that helps designers understand user needs, define problems, generate ideas, and build prototypes. It ensures design decisions are based on research rather than assumptions.
In today’s fast-paced digital world, creating seamless and intuitive user experiences is more than just a competitive edge, it's a necessity. According to Forrester Research, companies that prioritise UX design can see conversion rates increase by up to 400%. And yet, the UX design process is more than just slapping together wireframes and testing layouts. It’s a meticulous journey from understanding user needs to delivering an intuitive and effective prototype.
Steps in the UX Design Thinking Process
Step | Purpose |
|---|---|
Research | Understand user needs and context |
Define | Identify and frame the core problem |
Ideate | Generate possible solutions |
Prototype | Turn ideas into tangible concepts |
Test | Validate solutions with users |
Below I'll walk you through the key steps of the UX design process, supported by data, to show how each stage builds upon the other for a smooth and user-centered product design experience.
Step 1: User Research | To Know Your Audience
The first and most crucial step in any UX process is understanding your users. Conducting comprehensive research helps you uncover the problems that need solving, the goals of the users, and their behaviours. Without this, the design will likely miss the mark.
How to Conduct User Research:
Surveys and Questionnaires: Simple, scalable methods to gather quantitative data on user preferences, behaviours, and pain points.
Usability Interviews: One-on-one interviews dive deep into user motivations, giving qualitative insights that numbers can’t always convey.
Analytics Data: Tools like Google Analytics can provide real-time behavioural data on how users interact with your current product or similar platforms.
The Data Speaks:
Research shows that companies who conduct thorough user research are more likely to deliver products that meet market demands. A report by McKinsey revealed that design-led companies outperformed industry benchmarks by 2:1 in terms of revenue growth. Furthermore, a study by the Norman Nielsen Group found that skipping the research phase can increase the risk of project failure by 80%.
Step 2: Define | To Craft Personas & Problem Statements
After collecting insights, it’s time to synthesise the data. This stage involves creating user personas, fictional representations of your target users that capture key characteristics like their goals, frustrations, and motivations. Alongside personas, develop problem statements to define the core issues your design aims to address.
Example Persona Snapshot:
Meet Super Sarah, a 28-year-old marketing professional who frequently uses mobile apps for work. Her biggest frustration is wasting time on apps with poor navigation, which causes delays in her already tight schedule.
Why It Matters:
Creating personas allows you to humanise the data and keeps user needs at the forefront of your design process. According to a report by UX Planet, user personas can improve a product’s usability by up to 60%. Clear problem statements guide your design to solve specific user pain points effectively.
Step 3: Ideate | To Brainstorm Solutions
Now that the problem is well-defined, it’s time to brainstorm solutions. The ideation phase involves generating a wide range of ideas to solve user pain points. From quick sketches to group brainstorming sessions, the goal is to think creatively without limits.
Common Ideation Techniques:
Mind Mapping: Helps visualise connections between ideas and solutions.
Crazy 8s: A method where designers sketch 8 different ideas in 8 minutes to stimulate creativity.
Sketching: Quick sketches or low-fidelity wireframes that help bring abstract ideas to life.
Data Backed Creativity:
Studies have shown that collaborative ideation sessions can increase the range of ideas generated by 20%, leading to more innovative solutions. A global survey by Adobe found that companies emphasising creativity were 1.5 times more likely to report revenue growth than their peers.
Step 4: Wireframing | To Structure the Interface
Once ideas have been refined, it's time to translate them into wireframes, basic visual guides that represent the skeletal framework of a website or app. Wireframes focus on functionality, layout, and structure without delving into the finer details of design, such as colors or fonts.
Tools for Wireframing:
Figma: A collaborative design tool that allows for real-time feedback on wireframes.
Sketch: A vector-based design tool that makes wireframing quick and efficient.
Adobe XD: Great for wireframing and creating simple prototypes in the same platform.
The Importance of Wireframing:
Wireframes allow stakeholders and team members to visualize the user flow before investing time and resources into detailed designs. A report by Adobe found that iterating on wireframes early can reduce design costs by 50% since it highlights usability issues before high-fidelity prototypes are developed.
Step 5: Prototyping | To Bring Ideas to Reality
After iterating and finalising wireframes, the next step is prototyping. A prototype is a functional, interactive model of your product, offering a tangible representation of how it will look and work.
Types of Prototypes:
Low-Fidelity Prototypes: Rough versions with basic functionality, useful for early feedback.
High-Fidelity Prototypes: More polished versions that closely resemble the final product in terms of design and functionality.
Tools for Prototyping:
InVision: A platform for creating clickable prototypes and getting feedback.
Marvel: Another prototyping tool that is beginner-friendly and easy to use.
Framer: Excellent for creating advanced, high-fidelity prototypes with complex interactions.
Data Insights:
Research shows that building prototypes early can help reduce time to market by up to 30% (UXPin). Additionally, 85% of issues related to usability can be identified and resolved during the prototyping phase, according to the Interaction Design Foundation.
Step 6: Testing | To Validate the Designs
Prototyping doesn’t end the UX journey, now it’s time to validate your designs through usability testing. This ensures that your prototype solves the users' problems effectively and provides a positive experience.
Usability Testing Methods:
Moderated Testing: Conducted in-person or via video calls where users interact with the product under supervision.
Unmoderated Testing: Remote testing where users complete tasks on their own, providing valuable insights into how the product performs in real-world scenarios.
A/B Testing: Comparing two versions of a product to determine which performs better.
Testing Statistics:
Usability testing is critical to design success, with 75% of usability issues being identified during the first round of testing (NN Group). Furthermore, studies show that conducting five usability tests can uncover 85% of the design’s problems.
Example of the UX Design Thinking Process
A UX team begins by researching user behavior through interviews and observation.
Insights are synthesized into a clear problem statement.
Designers then explore multiple ideas before creating prototypes to test assumptions early.
Why the UX Design Thinking Process Matters
The UX design thinking process helps teams create solutions that are grounded in real user needs. By following a structured approach, designers reduce rework, align stakeholders, and build products that are more intuitive and effective.
Following a step-by-step UX design process, from research to testing, ensures user needs drive every decision, leading to products users love and business success. Data shows companies investing in UX see higher conversion rates, reduced costs, and stronger user retention. Using this process, I tried to design the experience of Zoop Wallet, A Document Management App, and the results turned out to be great than I expected.
Good design is about solving user problems with empathy and iteration, not just aesthetics. Continuously test, learn, and evolve your designs based on real-world feedback to create the best digital experiences.